Installing and Utilizing ChatGPT on Kali Linux with Shell GPT Integration

Welcome to my blog! My name is Mohamed Abdalla Ibrahim and I am a Cyber Security Specialist and IS security enthusiast. With over 15 years of experience in an enterprise environment, I have a strong understanding of the business risks related to IT. I am always seeking out the newest technologies to upgrade my knowledge and enhance my skills and qualifications in my field. I am self-motivated and have strong communication skills, and my greatest goal is to be a distinguished source of innovation in the IT field. Thank you for visiting my blog, and I hope you find the information and resources on this site helpful and informative
In the realm of cybersecurity, leveraging the power of artificial intelligence (AI) can significantly enhance the effectiveness and efficiency of various tasks. One such powerful AI tool is ChatGPT. This article will guide you through the process of installing ChatGPT on Kali Linux.
Kali Linux is a Debian-based Linux distribution designed for digital forensics and penetration testing. It comes pre-equipped with a multitude of security tools, making it a favorite among security analysts and ethical hackers. To install ChatGPT on Kali Linux, you should ensure your system is up-to-date and has the necessary software dependencies such as Python, pip, and network access to download packages from the internet.
What is Shell GPT?
Shell GPT is an interface that allows users to interact with GPT-powered models directly from the command line. It essentially enhances the shell experience by providing AI-driven responses and suggestions, making scripting and command execution more intuitive and powerful. With Shell GPT, users can get coding assistance, command explanations, and even automated script generation.
So Let's Start the installation Steps
1. Update Your Kali Machine: Always start by updating your Kali Linux system to ensure all existing packages are up-to-date. Run sudo apt-get update && sudo apt-get upgrade in the terminal.

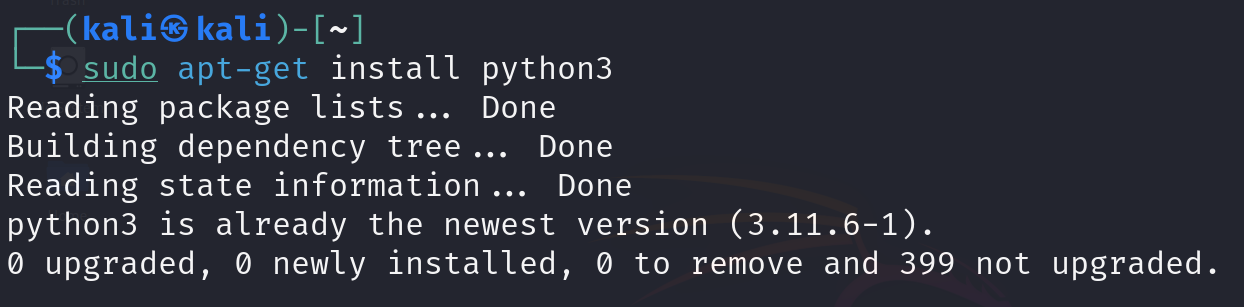
2. Install Python: ChatGPT requires Python, so install it by running sudo apt-get install python3
Note: If you have installed python and PIP before you don’t need to install it again.
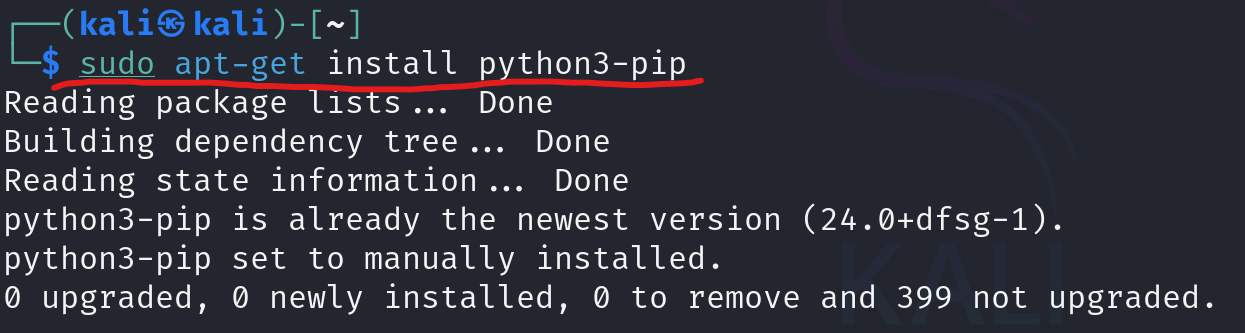
3. Install PIP: PIP is a package manager for Python. Install it with sudo apt-get install python3-pip.
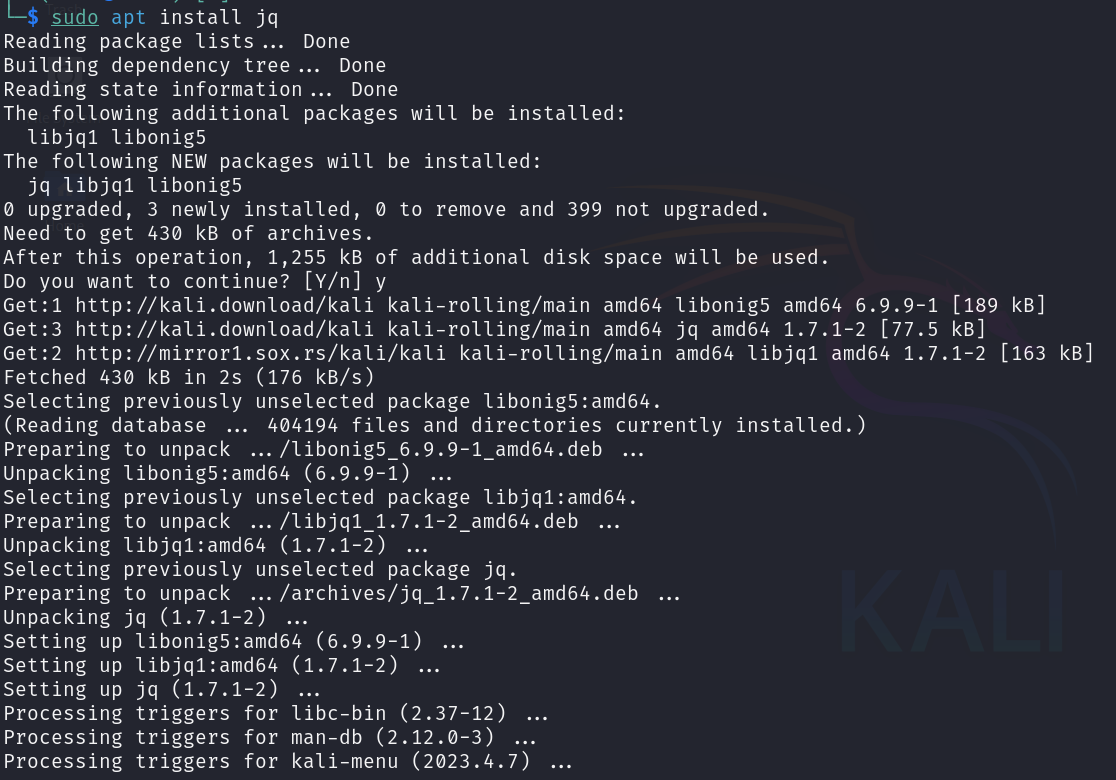
4. Install JQ: We would be needing a programme called “JQ”, Install it with ‘ sudo apt install jq ’
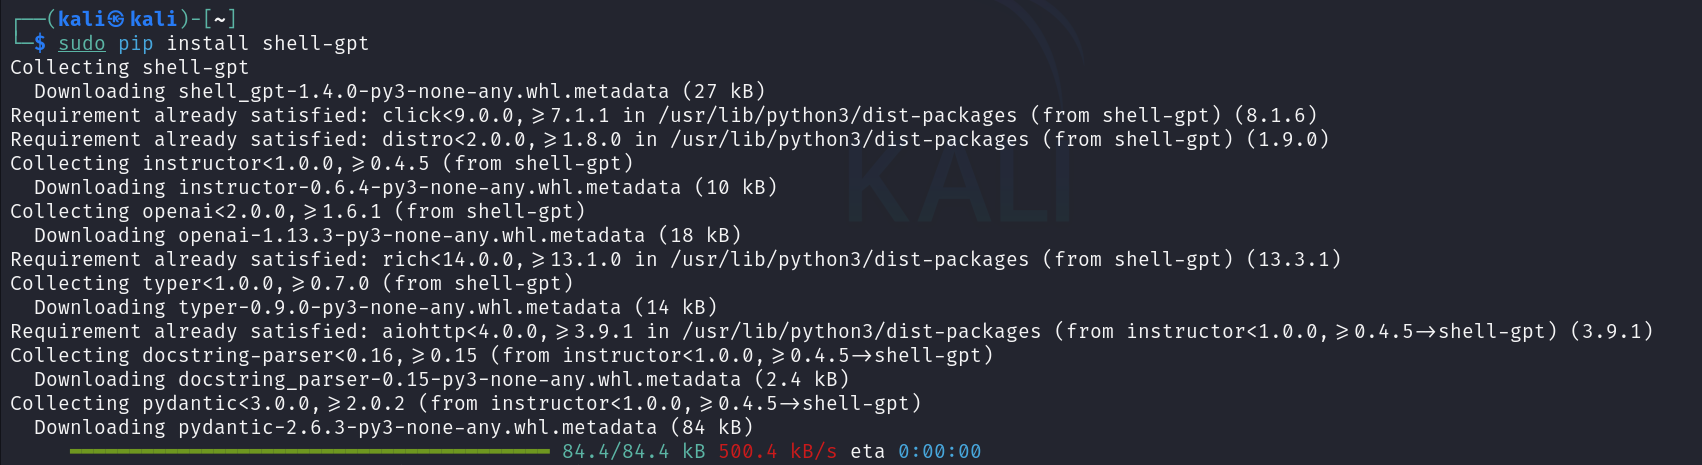
5. Install Shell GPT: You install Shell GPT by running ‘sudo pip install shell-gpt ’
6. Change Directory: Changing the directory using the command ‘cd ~/.local/bin/’

7. Start Using Shell GPT: To use Shell GPT you need to run the command ‘python sgpt’

8. Input API KEY: The API KEY you generated has to be pasted here
To Generate your API keys you have to visit
https://platform.openai.com/api-keys
and sign in with your account
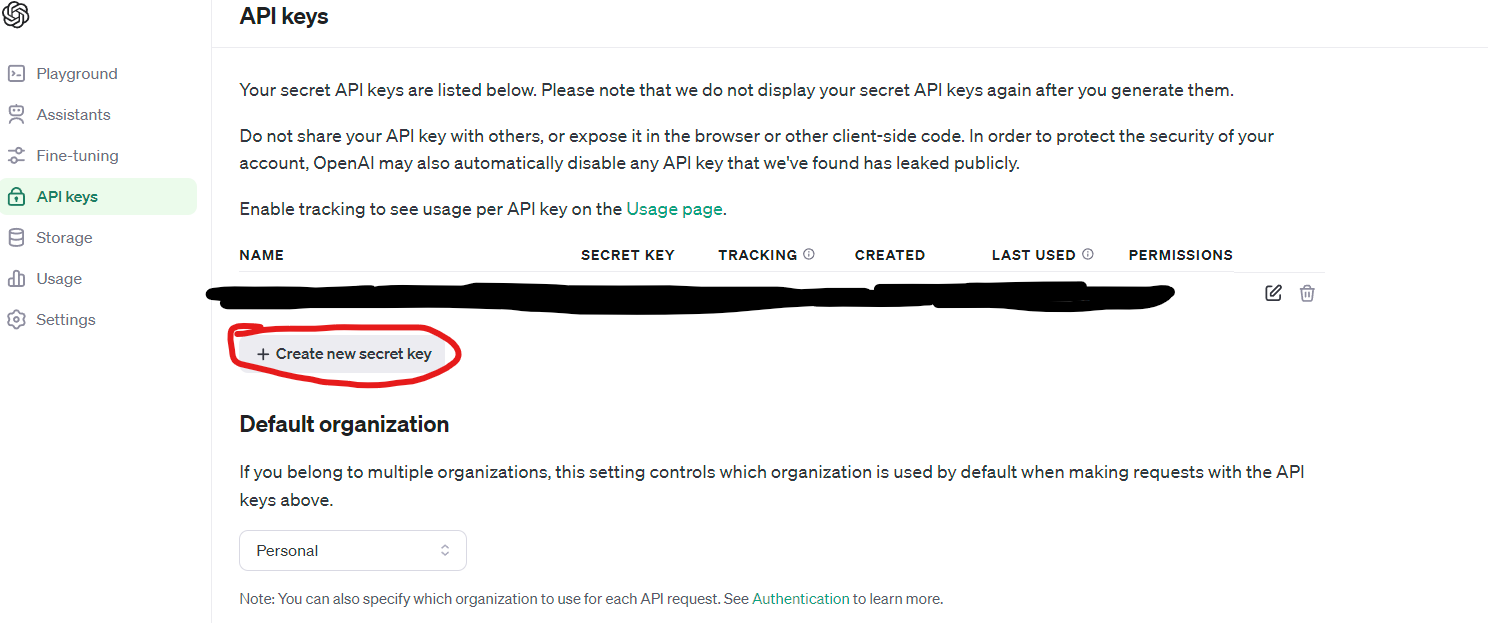
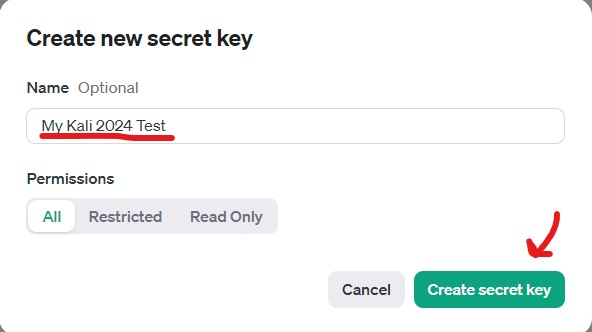
And click Create New Secret key
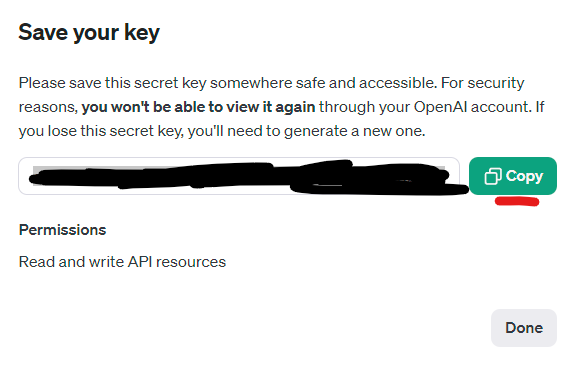
copy the key
9. Paste API KEY: The API KEY you generated has to be pasted and press enter
Note: If you have misconfigured the key or you need to check you put the right key
you can open this file to double-check if you put the right key

10. Start Using Shell GPT: Then you can ask Shell GPT any question you want to ask but NOTE That you have to navigate to the ~/.local/bin directory before you can start using Shell GPT, That would be stressful you know considering the fact you have to restart your Kali machine multiple times daily.
That’s why we came up with a solution to start up your Shell GPT without having to navigate to the ~/.local/bin directory always all you have to do is just to type the command sgpt from anywhere and boom you are in…. We can do this by putting the directory where the python binaries and shell are located in the path environment variable using the command “export PATH=$PATH:~/.local/bin:/usr/bin/python3”
Conclusion
Integrating ChatGPT with Kali Linux opens up new avenues for cybersecurity professionals, enthusiasts and Script Kiddies. This powerful combination brings the cutting-edge of AI technology into the hands of those at the forefront of digital security.